
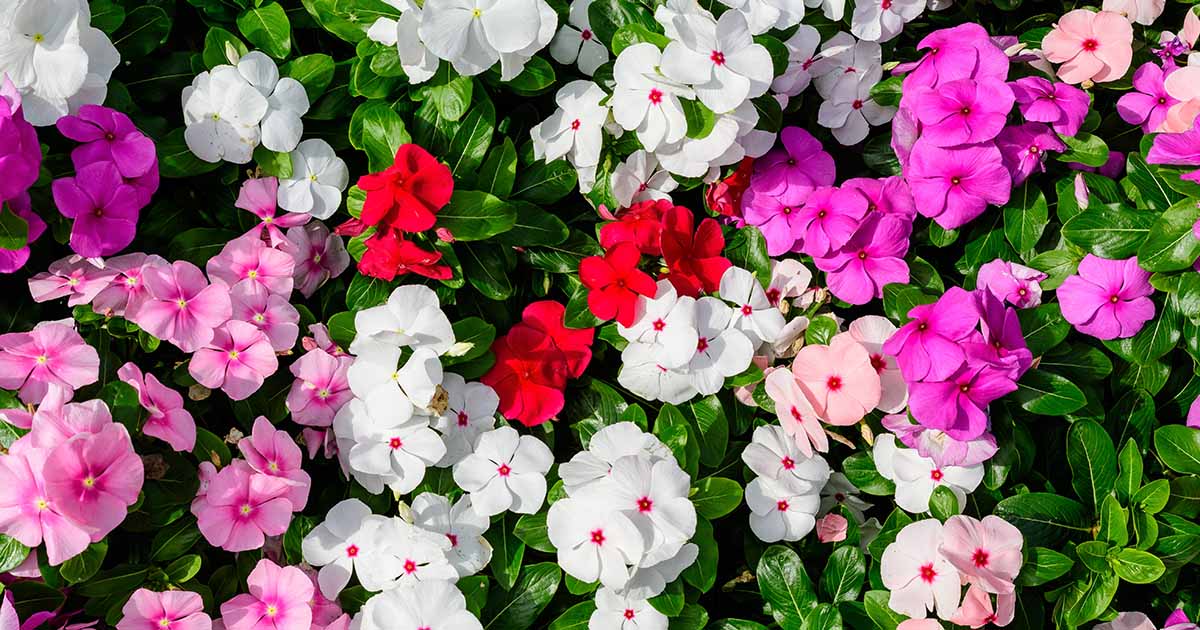
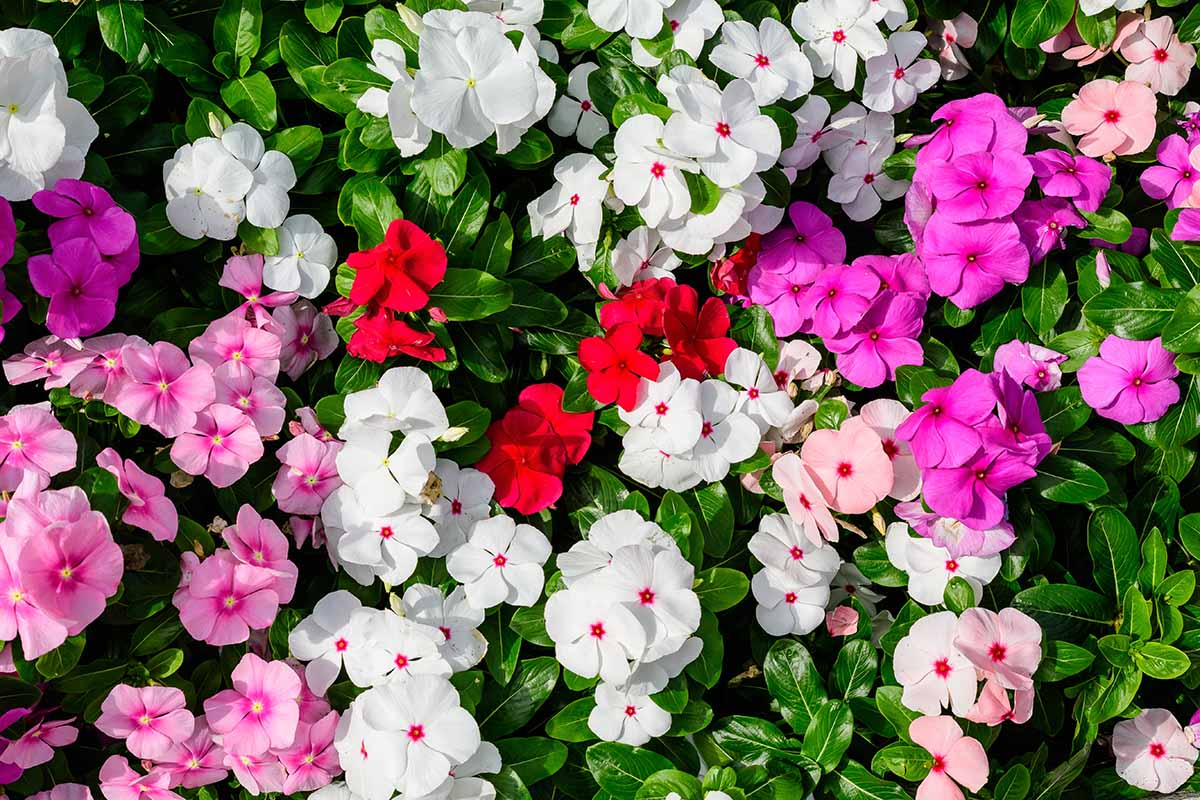
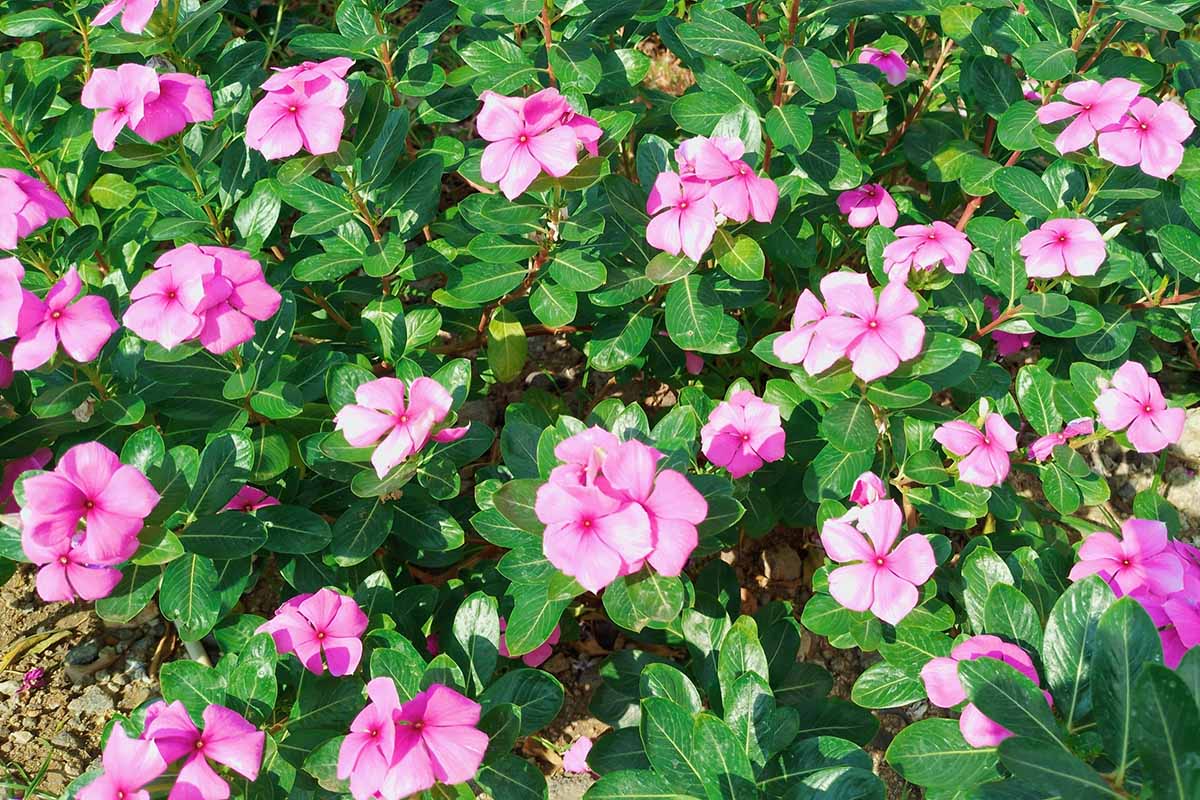
Impatiens flowers have earned their status as one of the most popular annual garden plants out there.
Whether they are displayed in flower beds, planters, or hanging baskets, they adapt to locations in full shade or happily bask in plenty of sun. You can cultivate them indoors or out. Plus, they’re easy to grow from seed.
Growing from seed might be the most common method of impatiens propagation, but that’s not the only way to get your hands on more impatiens plants. You can also propagate them via cuttings or by division.
As you’d expect from such an easygoing plant, all three of these methods take less effort than deciding what to have for dinner.
We link to vendors to help you find relevant products. If you buy from one of our links, we may earn a commission.
As much satisfaction as I get from succeeding at a gardening challenge, sometimes I just want to do something I know is going to work, and propagating impatiens is one of those easy-peasy tasks.
Not to mention that it’s also easier on my wallet than buying flat after flat of flowers to fill up my garden.
Coming up in this guide, we’ll talk in more depth about the common methods for propagating impatiens. Here are the three we’ll go over:
Impatiens Propagation Methods
These three methods work for all common Impatiens species you’ll find in stores, including garden (I. walleriana), New Guinea (I. hawkeri), and their hybrids.
Once you have your new plants up and running, read our guide to growing impatiens for a rundown on how best to care for them.
From Stem Cuttings
If you have access to an existing, healthy plant, propagating stem cuttings is the way to go.
You can produce an almost endless number of impatiens plants with minimal effort, and the resulting plants will be a genetic replica of the parent.
Some plants are a challenge to propagate via cuttings, but impatiens are easy-peasy. It’s best to take your cuttings in the spring, but you can do it any time of year.
You can use two methods: rooting the cuttings in water or in a potting medium.
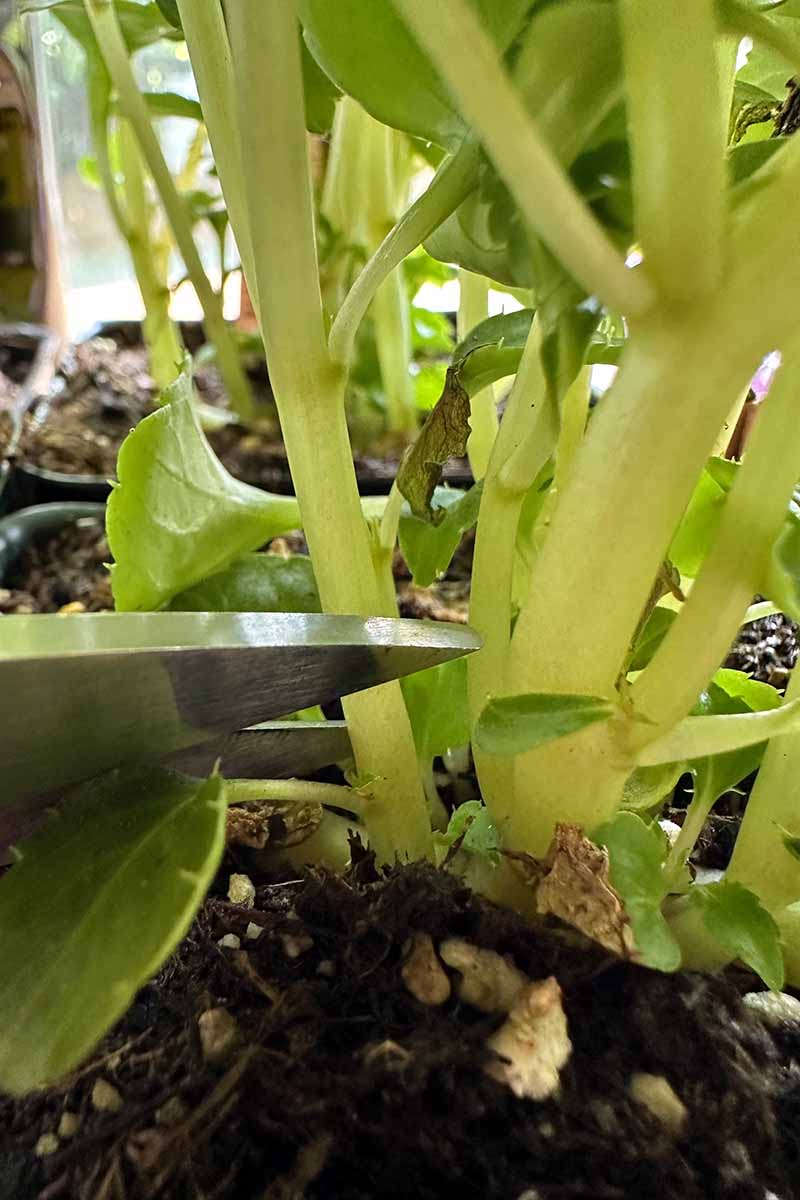
Look for a stem that looks healthy and is about four inches long or more. Snip it off near the soil and strip off all the leaves but the top two, and pinch off any flowers.
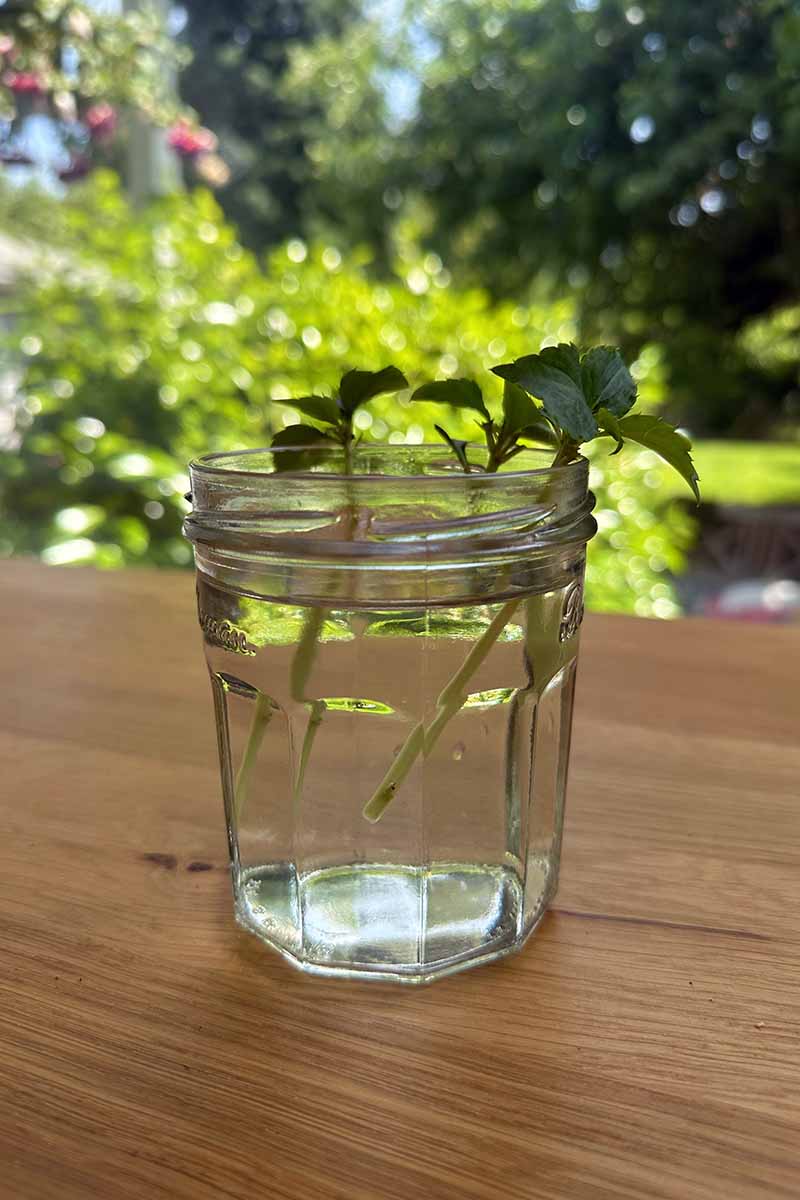
If you are rooting in water, place the stem cutting in a glass of water and set it in a spot with bright, indirect light.
If you are using soil, fill individual pots or a six-cell seed-starting tray with a seed-starting medium and moisten it.
Poke a hole in the center of each pot or cell and set your cutting a few inches deep into the soil. Firm the medium up around the cutting so it stays upright.
When I’m propagating plants, I like to use Tank’s Pro-Lite Seeding & Potting mix, or something similar.
This product has a mixture of organic compost, coconut coir, and perlite, which is light enough to help prevent rot but retains water well.
Tank’s Pro-Lite Seeding and Potting Mix
Arbico Organics carries a 16-quart bag, which is plenty to start several cuttings.
Place a plastic bag or humidity dome over the tray or pots to help retain moisture and place in a spot with bright, indirect light.
Keep the soil moist in potted cuttings or change the water every day or two while you wait for the roots to develop.
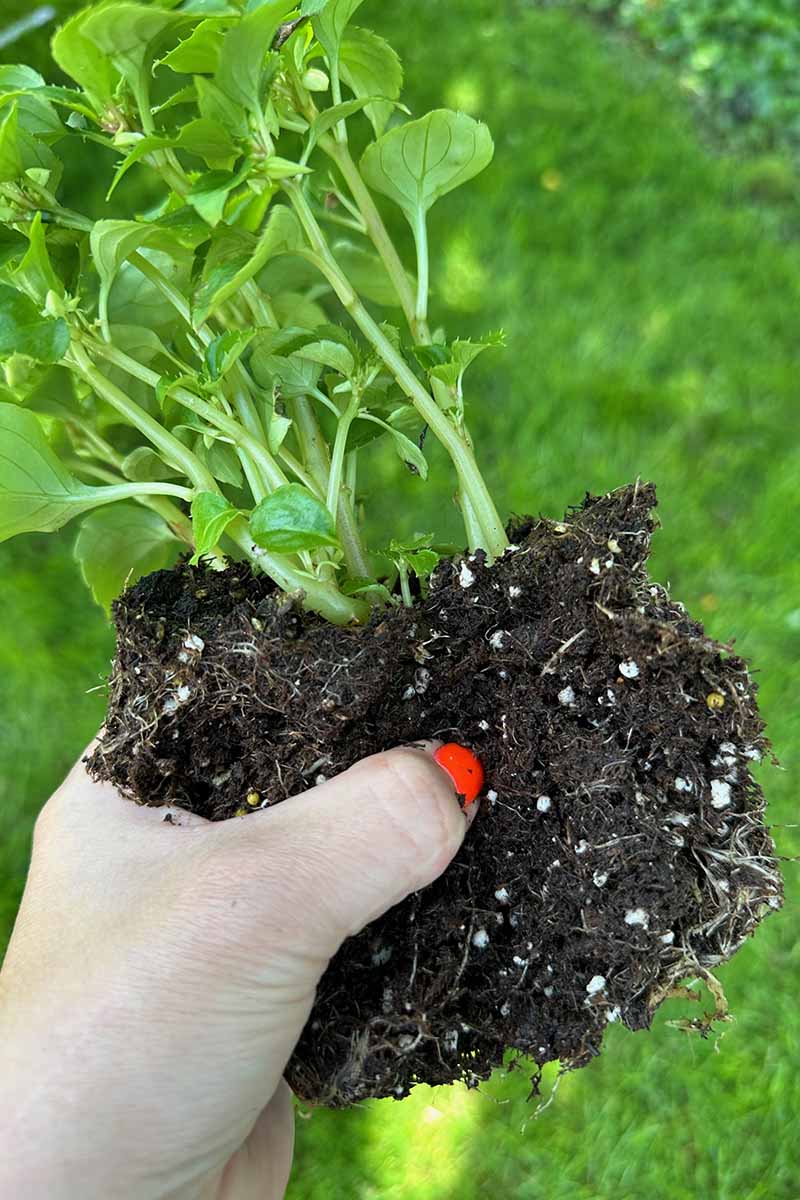
Once you see roots coming out of the drainage holes for those you started in soil, you can transplant them into their permanent home in the garden after a week of hardening off.
If you started your cuttings in water and you can see lots of roots, pot up the cuttings in one or more containers filled with potting soil.
You want to give the new impatiens plants a little time to develop sturdy roots in soil and harden them off before planting them outdoors. If you’re keeping your new impatiens plants indoors, you can skip this part.
To harden off your starts, take them to the area where you plan to grow them, leave them there for an hour and then bring them back inside. The next day, add an hour outside before you bring them back in. Do this for the next five days, adding an hour each day.
This gives the plant time to adjust to the harsh world of the great outdoors, with its different light intensity and strong breezes.
By Division
Impatiens grow quickly and if you give them a little time to fill out, you can divide the plants once or twice during the growing season.
You can do this anytime you have an impatiens clump that is at least six inches or larger in diameter so that you can remove a clump that is at least three-inches.
Before you start dividing, either dig the new hole that you will be placing the division in, or fill the new container with potting soil. It’s best to have the new growing area ready before you get to work so that you reduce transplant shock – not that impatiens suffer from that too much.
To divide impatiens growing in the ground, take a clean trowel and insert it vertically into the of the clump where you want to separate it from the rest. You can take a section of any size provided it is no less than three inches wide.
Gently lift and insert the trowel a few inches over and repeat until you have separated the section that you want.
Lift it up and gently set it in the new hole or container. Firm up the soil around it and water in well.
Fill the hole you made in the existing clump with potting soil. In no time flat, the existing plant will spread and fill that empty spot.
To divide impatiens growing in a container, remove the plant from its container and gently tease a section apart from the main plant. You might need to use some scissors to gently cut through the roots or stems to completely separate them.
Place the main section back in the original container and fill in around it with some potting soil to replace the removed section.
By the way, if you aren’t sure what kind of potting soil to use with these plants, I highly recommend something like Tank’s-Pro Potting Mix.
Tank’s-Pro Potting Mix
It’s the perfect mix of compost and coco coir for water retention and nutrients. Snag yourself a one-and-a-half cubic foot bag at Arbico Organics.
Starting Seeds
Propagating impatiens from seed is an affordable way to start plants when you don’t have access to an existing specimen.
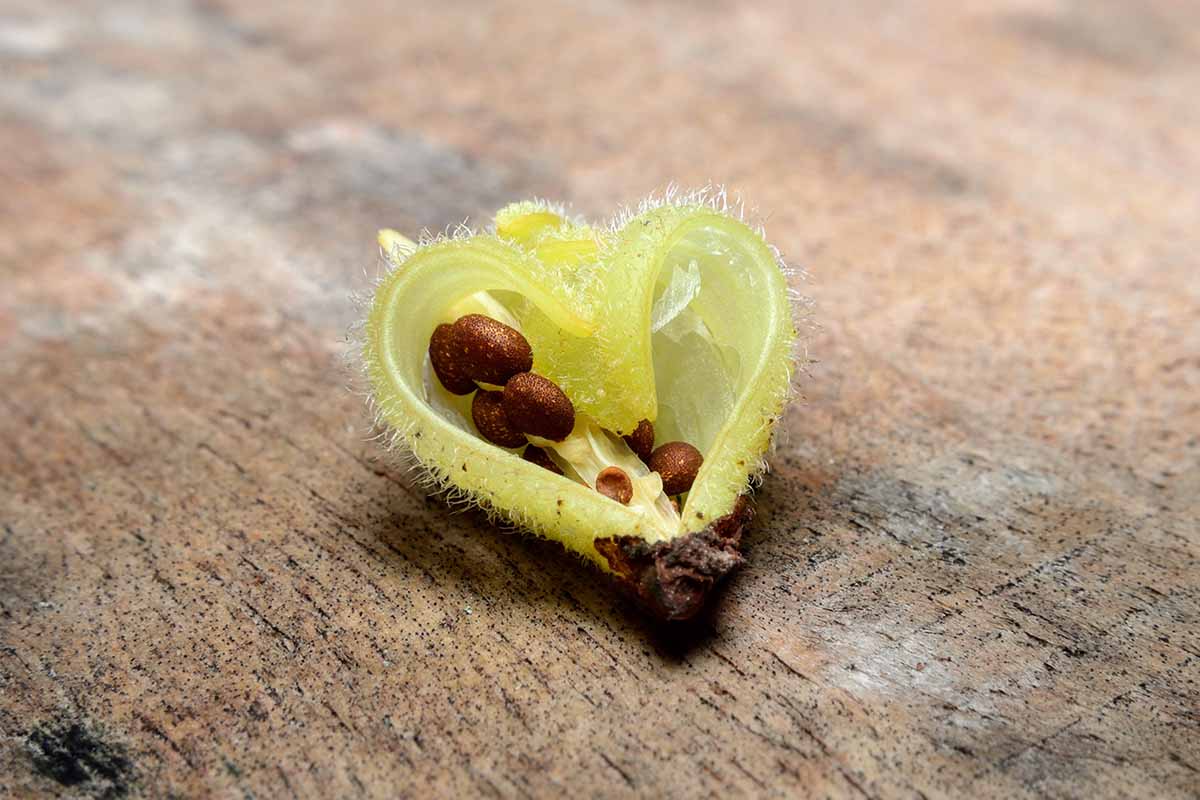
Of course, you can harvest the seeds from plants in your garden and use those, but don’t be surprised if what grows isn’t exactly like the parent.
I love harvesting impatiens seeds because they shoot out of the pod, like tiny little missiles.
This is known as “ballistic dispersal” and is a way for the plant to spread its seeds far away. It makes me laugh every time I see them shoot around the garden.
Whether you purchase seed from somewhere like Burpee, which has the marvelous Beacon™ Paradise hybrid mixture in a pack of 25 seeds, or you harvest your own, the propagation process is the same.
Beacon™ Paradise
You’ll want to start your seeds indoors in the spring so you can control the environment. Sow them in trays or cells filled with seed-starting medium.
Place them about four to six inches underneath grow lights, moisten the medium, and sprinkle the seeds onto the surface of the soil and gently press them in.
If you want to be more precise, you can moisten a toothpick and pick up one seed at a time. Gently poke it onto the soil but don’t bury it, as these seeds need light to germinate.
Seeds should be about an inch apart and thinned to about four inches apart after they germinate.
It helps to cover the containers with plastic or glass to help retain moisture, since surface-sown seeds tend to dry out quickly.
For a detailed explanation, visit our complete guide to starting impatiens seeds.
Give Me More!
Until I win the lottery and have an unlimited gardening budget, propagation from seed, via cuttings, and by division are always going to be my go-to methods for increasing my plant numbers without decreasing my bank account.
You know? Even if I had unlimited funds, I would still probably propagate impatiens myself. It’s the definition of a fulfilling gardening project.
Which method will you use to propagate impatiens? Let us know if you run into any problems or need some help in the comments section below.
I hope this guide was helpful and set you on the path toward an abundance of impatiens. If you want to propagate some other flowering plants, we have a few guides that might be useful. Give these a look: