

If you’ve ever brushed against a thyme plant and caught a whiff of its earthy, lemony aroma, then you know why it’s one of the most beloved herbs in the garden.
It’s a staple in the kitchen and in pollinator-friendly landscapes alike, with a tough, sun-loving growth habit that makes it as practical as it is fragrant.
And good news for frugal or adventurous gardeners: thyme is also easy to propagate. You don’t need to keep heading to the nursery or start from seed every time you want to expand your herb bed.

We link to vendors to help you find relevant products. If you buy from one of our links, we may earn a commission.
There are several ways to clone your favorite plant—whether it’s a creeping variety lining your path or a bushy upright type you use in your Sunday roasts.
You can snip a sprig and root it in soil, encourage a stem to set down roots while still attached to the parent plant, or divide an established clump and instantly multiply your thyme supply.
Whether you’re hoping to blanket a rock garden, fill in a few gaps in a raised bed, or pass a bit along to a fellow gardener, propagating is a quick and satisfying project.
In this guide, I’ll walk you through three proven techniques so you can decide which method best suits your plant and your goals.
Here’s what we’ll cover:
When to Propagate
The best time to propagate thyme is during the active growing season, which typically runs from mid-spring through early summer.
This is when the plant’s energy is focused on new growth, making it more likely that your cuttings will root, your layering will take hold, and your divisions will recover quickly.
Cuttings should be taken after new growth has appeared but before the plant begins flowering.
For most climates, that’s sometime between late April and early June. If you wait until the thyme is in full bloom, it may put more energy into flowering than rooting, which reduces your chances of success.
Layering can be done just about any time the plant is actively growing, but spring and early summer are ideal for fast results. Avoid layering during dry spells or right before a heat wave, as stressed plants are slower to produce roots.

If you plan to divide a mature plant, aim for early spring before flowering begins or in early fall once the summer heat has passed.
This gives the roots time to recover before they’re hit with temperature extremes. Fall divisions also benefit from cooler weather and more consistent moisture, both of which support root development.
You can propagate thyme at other times of the year if needed, especially indoors or in mild climates, but keep in mind that success rates will be lower when the plant is dormant or stressed.
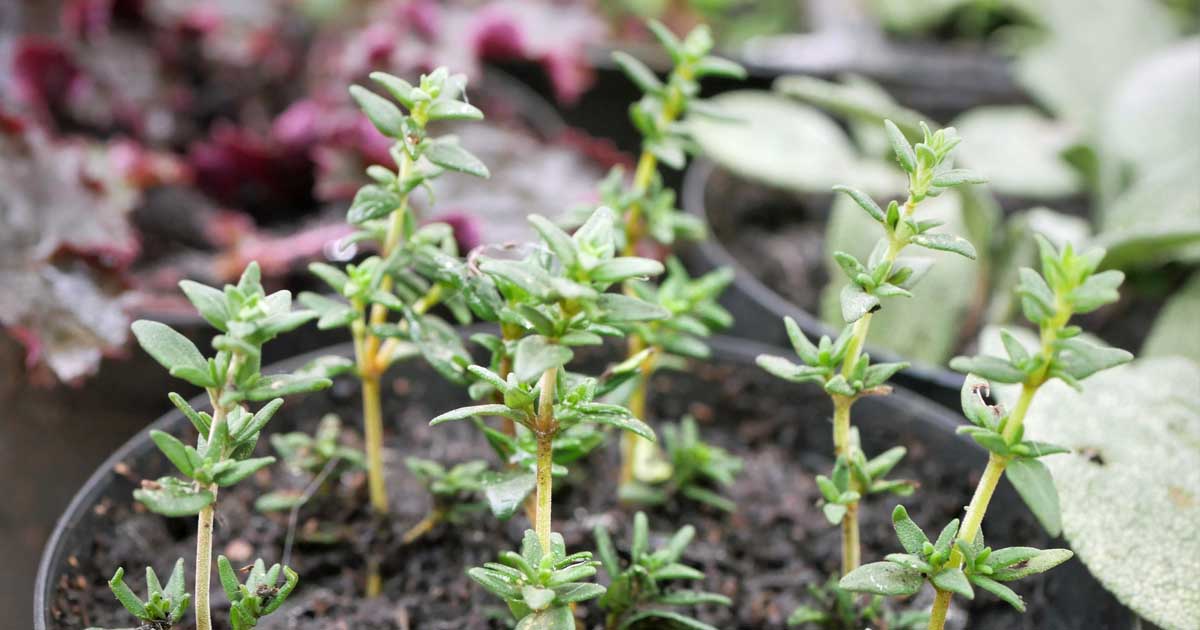
From Cuttings
Simply take a three-inch cutting from the tip of a stem and remove the lower third of leaves from the cutting.
While not mandatory, rooting hormone can be applied, which will increase the speed of rooting and your chances of success.

Whether you use gel or powder, remove just enough from its container to dip the bottom third of the cutting in so as not to contaminate your rooting hormone.
To prevent any bacterial or fungal infections, plant the cuttings in a well-draining, sterile potting medium one inch deep.
You can use sterile sand mixed with one-third potting soil or vermiculite, for example, or cactus potting soil.
Make the hole first with your finger so you don’t rub the rooting hormone off in the soil, submerge the cutting, gently tamp the soil around it, and water.
The soil should be kept moist but not soggy.

Early Grow Propagator and Germination Tray
To minimize watering requirements and maintain a moist environment I recommend the use of a humidity dome like this one from Early Grow, available from Amazon.
By the time you see new growth, roots should also be emerging, which will take about four to six weeks.
At this time, you can transplant the newly rooted plants to a suitable place outdoors or into four-inch pots.
When planting outdoors, the best time to transplant is in springtime after the last frost.
Space them 12 to 24 inches apart throughout your landscape as companions to other plants, or as part of your herb garden.
By Layering
As soon as the stems hit the ground, they begin sending out roots. This makes them perfect for layering.
Take a long stem and simply secure it to the soil with a stake, which can be fashioned from a small branching or V-shaped twig, ensuring that there are at least four inches between the tip of the stem and the stake.
The tip will begin to grow upright from the stake, and in about a month, sufficient roots will have formed.
When the plant seems securely rooted, sever the rooted stem from the rest of the plant, dig up your new plant, and transplant it into an appropriate space in the garden or into a four-inch pot.
Via Divisions
If you’re growing your T. vulgaris in a container, this technique may work best for you, but divisions are also possible from garden plants.

Look for stems that are woody. These will be your main branches that will serve as the initial trunks of the separated pieces.
Thyme roots are fairly shallow, so you’ll be able to easily unearth them by digging under the plant by less than a foot.
Get at least two stems per section of roots and use a sharp knife to cut the roots from each section you’re dividing.
Plant these new plants at least 12 inches apart in the garden or in four-inch pots, ensuring that the root system of each is completely buried beneath the surface.
Cover the roots in soil, pack gently, mulch with three to six inches of material if planting in the garden, and water.

Garden Rich Root & Grow
To help plants become established, fertilize with a transplant fertilizer like Garden Rich Root & Grow from Bonide that’s available from Amazon, following the instructions on the package.
Learn more about dividing perennials in this guide.
Transplanting and Care
Once your cuttings, layered stems, or divisions have developed healthy roots, it’s time to move them to their permanent spot.
Choose a location with full sun and well-draining soil. Thyme hates soggy roots, so raised beds or sandy, rocky areas work well.
Dig a hole just deep enough to accommodate the root system. If you’re planting multiple thyme plants, space them six to 12 inches apart, depending on the variety.
Set the transplant in the hole and firm the soil gently around the base. Water well to settle the roots, but don’t let the soil stay wet—thyme is drought-tolerant once established.
Avoid fertilizing new transplants. Too much nitrogen encourages leggy growth with less flavor. A yearly top dressing of compost is usually enough.
Trim back any leggy or damaged stems to encourage bushy growth.
Keep the area weed-free while your new plants get established, and water sparingly once they’re growing on their own.
For more care tips and for directions on growing from seed, be sure to check out our thyme growing guide.
It’s the Right Thyme to Grow
Thyme doesn’t ask for much—just a sunny spot, dry feet, and a little space to spread.
And now that you know how to propagate it by cuttings, layering, and division, you can grow more of this versatile herb without spending another dime at the nursery.
Whether you’re filling gaps in your garden, edging a path with creeping varieties, or potting up extras to share with friends, these simple techniques make multiplying thyme a rewarding and straightforward task.

Even better, the plants you propagate will be genetic matches to your favorite cultivars—so you know exactly what you’re getting.
So go ahead, snip a sprig, split a clump, or pin a stem to the soil. However you choose to do it, you’ll soon have more plants on your hands—and that’s never a bad thing.
What about you? Have you cloned your own? Let us know in the comments below.
In the meantime, be sure to check out some of our other thyme related guides: