

If you’ve ever dreamed of filling your garden with more of those sculptural blooms and glossy green leaves that make calla lilies so irresistible, the good news is—it’s absolutely doable.
These striking plants are surprisingly generous when it comes to propagation, offering gardeners a few different paths to expand their collection.
Callas are best propagated via rhizome division, but they also grow well from seeds. However, you can expect to wait up to three years before you’ll see flowers from seed-grown plants.

Please remember to wear gloves when handling all parts of Zantedeschia to protect your skin from the potentially toxic and irritating compounds it contains.
Whether you’re nurturing a potted specimen or managing a flourishing border, a little effort now can reward you with seasons of lush, dramatic growth. Let’s explore the options:
By Seed
Seeds appear in late summer to early autumn and must be collected when fully ripened, then stored until planting the following spring.

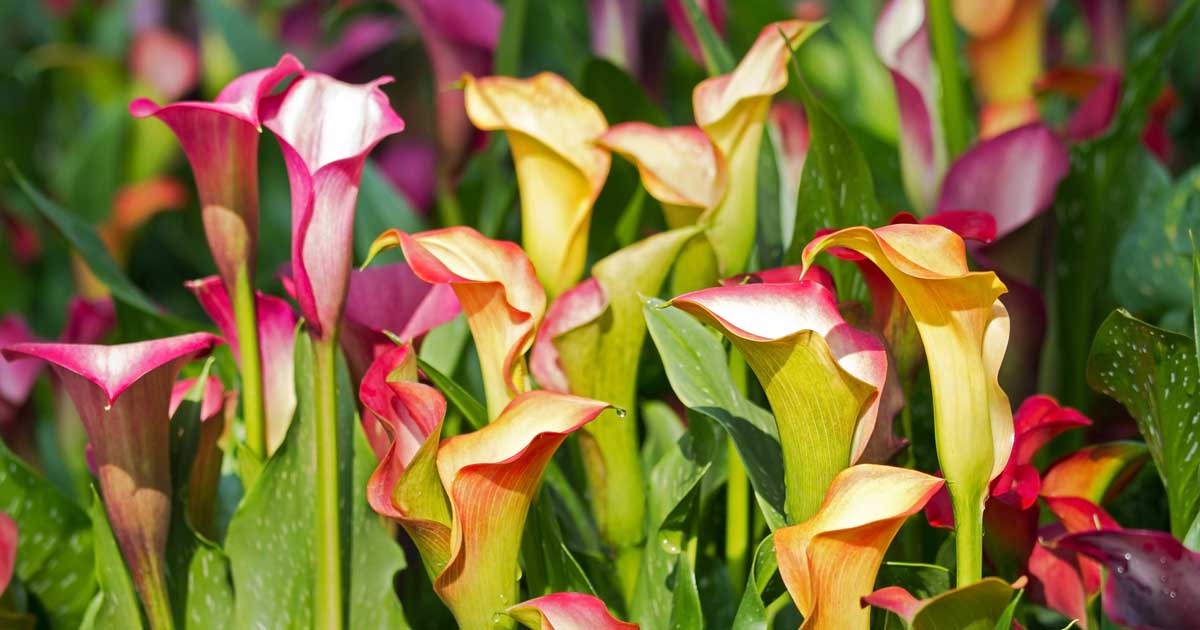
Seeds form on the thick spadix, developing in kernel-like pods after flowers fade.
The pods eventually reach two to five inches in length. They are ready for harvesting once they’ve turned yellow, and they will feel soft if you give them a gentle squeeze.
Cut pods off at the base and store in a paper bag until they are dry and brown. When fully ripe, the pods will split open and the seeds are easily squeezed out.
Store dry seeds in an airtight container in a cool, dark location until spring.
Here are the steps for planting:
- Fill shallow nursery flats with a moistened starter soil mix and scatter seeds lightly on the surface, spacing one to two inches apart.
- Cover seeds with a quarter-inch of moist starter soil.
- Place flats in a bright, warm location. Use a heating mat to ensure the soil reaches the ideal germination temperatures of 70 to 80°F.
- Water seeds with a gentle shower whenever the soil surface feels dry.
- Once two to three true leaves have formed, transplant the healthiest and strongest seedlings to four-inch pots filled with potting soil, one seedling per pot. Thin or discard any small or slow-growing seedlings.
In their first year, keep seedlings in bright light with consistent water and provide protection from hot afternoon sun.
Overwinter plants indoors and plant out the following spring.
Root Division
When the tuber-like rhizomes become aged and overcrowded, flower production decreases. To keep your callas vibrantly productive, divide the clumping rhizomes every three to five years.

Rhizomes can be lifted in fall after the foliage has turned brown and pulls away easily from the roots.
Here’s how to divide them:
- Use a garden fork or spade to loosen the soil all around the rhizome clump, digging down 12 inches and giving about four inches of ease around the edges.
- Slide the fork under the clump and pry upwards to lift and remove it.
- Gently brush away any dirt. Lightly trim dangly roots and cut away any remaining foliage to two to three inches.
- Using a clean garden knife or shears, cut apart the rhizome, ensuring each section has at least one eye.
- Sprinkle the cut sections with a natural fungicide like garden sulfur.
- Discard any parts that are soft, squishy, or smelly, as well as old sections that are no longer producing viable eyes.
- In a warm, dry location out of direct sun, allow the rhizome sections to dry for a day or two to callus over before replanting or storing. Callusing seals the wounds and helps to prevent infection or pest infestation.
If you’re outside of their recommended Zone 8 to 11 hardiness range, overwinter the rhizomes in cold storage and replant in spring.
For perennials grown year-round in the ground, in late winter or early spring, use a sharp, clean spade to cut and lift out rhizome sections as soon as new growth appears, with at least one eye each.
Sprinkle the cut edges in the remaining clump with garden sulfur. Add fresh soil to the host site and gently firm it in place.
Sprinkle cut edges of the new cut sections with sulfur and allow to callus over for a day or two as described above before replanting.
Make More Colorful Callas
With just a bit of effort and the right timing, propagating calla lilies can be an easy and satisfying way to multiply your favorite varieties.

Division is reliable, straightforward, and a great excuse to refresh crowded clumps, while starting from seed—though less common—offers a chance to experiment if you’re up for the challenge.
However you choose to go about it, expanding your collection means more bold blooms and lush foliage to enjoy season after season.
What about you? Have you ever propagated your own? Or do you have questions? Let us know in the comments below.
And if you’re in search of more calla lily care info, be sure to check out these guides next: