
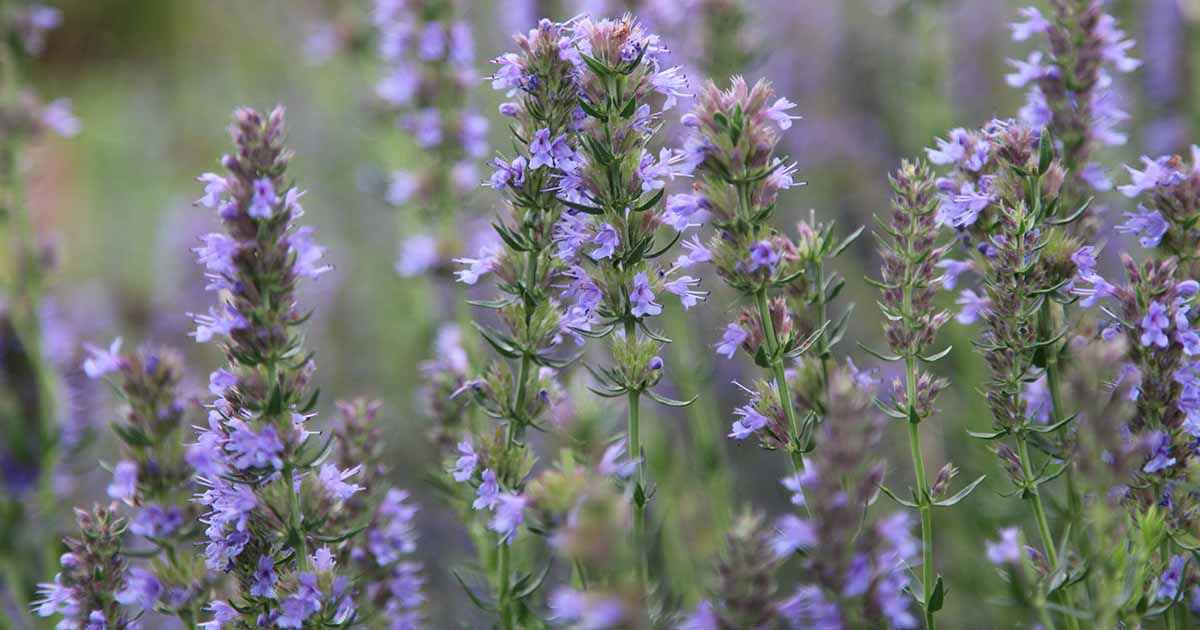

An old-time favorite, hyssop (Hysoppus officinalis) is a charmer in herb and ornamental gardens alike, grown for its aromatic, showy appeal.
Valued for its long flowering period of midsummer until frost, the tall spires of small, tubular blooms are richly colored, in hues of cobalt blue to violet, with a few cultivars sporting pink or rosy red flowers.

We link to vendors to help you find relevant products. If you buy from one of our links, we may earn a commission.
As a member of the mint family, hyssop blooms have a zesty, herbal scent and are a magnet for pollinators, providing pollen and sweet nectar to a range of bees, butterflies, hummingbirds, moths, and many other friendly fliers.
Hyssop is deeply flavored, a combination of minty and herbal notes with a slightly bitter undertone. It’s used in a variety of savory dishes and as a flavor and coloring agent in liquors like chartreuse and absinthe.
Beekeepers claim that hyssop makes a superbly flavored honey. Plus, this herb has a long history of use as a folk remedy for a range of ailments from digestive issues to head colds.
The strong, semi-woody stems with colorful, long-lasting flowers and handsome semi-evergreen foliage makes hyssop ideal as an ornamental for mixed beds or in cottage, herb, and knot gardens.
These vigorous plants respond well to pruning and when clipped are fragrantly handsome with a formal look that works well in low barriers, borders, and edging.
Hyssop plants also shine in containers, adding their aromatic, colorful charm to kitchen potagers, patio planters, garden pots, upright urns, and window boxes!
So if you’re looking for a flavorful, fragrant, and richly colored herb for your container garden, let’s get into the details about how to grow hyssop in planters and pots.
Here’s a peek at what’s ahead:
Container Choices
Hyssop plants grow 12 to 24 inches tall and spread up to 18 inches.
For successful container cultivation, pots and planters need to be large enough to accommodate the deep, expansive root system.

Choose containers at least 12 inches deep to comfortably house the thick taproot, rhizomatous nodules, and fibrous network of smaller roots.
The pots you choose also need to have drainage holes to ensure the soil doesn’t become soggy – waterlogged roots are prone to disease and rot.
And they need to be constructed from materials that won’t crack or break during frost or freezing temperatures.
If cold winters are normal in your region, opt for containers made of concrete, fiberglass, fiberstone, hypertufa, resin, or wood.
Catchment saucers to put underneath the pots are helpful in summer, allowing any overflow of water to be quickly wicked back into the soil.
But it’s best to remove them in winter to prevent the roots from exposure to cold standing water.
Potting Up
You can transplant starter hyssop plants in spring after all danger of frost has passed.
Place your containers in a full sun location, but if the afternoon sunlight is persistently hot and intense, these herbs will appreciate some light afternoon shade.

To prepare pots, I like to add a two-inch layer of porous drainage material, such as broken pottery or pebbles to the bottom.
This helps to keep water flowing freely so the soil in the bottom of the container doesn’t become soggy and waterlogged.
Hyssop does best in fertile, humus-rich soil, but isn’t fussy about pH levels, adapting readily to slightly acidic to slightly alkaline soils in a range from 6.6 to 8.5.
Choose a well-draining commercial potting soil and amend it with one or two parts of organic materials such as compost, leafmold, rotted manure, or worm castings.
Add in one part of gritty materials to improve the drainage, using aggregate materials like landscape sand, pea gravel, or stone chips.
To the amended potting soil, mix in one or two tablespoons of bone meal to promote strong, healthy roots.
Fill your pot with the amended soil, leaving an inch or so at the rim to allow for easy watering.
Dig a hole the same size as the nursery pot the plant is currently growing in.
Remove the hyssop plant from the pot, set it in the hole, and ensure that it’s sitting with the crown just below the soil line.
If you’re growing more than one plant in a large container, space them six to 12 inches apart.
Gently firm the soil over the roots then water carefully to settle in place.
Where to Buy
Starter plants are usually available in spring in the herb section of well-stocked garden centers, or you can easily start your own hyssop from seed, as detailed in our guide to growing hyssop.

Hyssop Seeds
If you are going to start from seed, you can find packets available at Botanical Interests and at Eden Brothers.
How to Grow
When established, H. officinalis plants have moderate to good drought tolerance, but container-grown specimens perform better with regular waterings.

Water when the top two inches of soil is dry, giving plants about one inch of water per week, or enough to ensure the entire root ball, not just the surface roots, receive moisture.
These plants are not heavy feeders when grown in nutrient-rich soil, but potted specimens benefit from a top-dressing of organic matter spread over the root zone in spring, using materials like compost, manure, or worm castings.
You can also use a granular slow-release fertilizer with a balanced formula such as 4-4-4 NPK scratched into the soil surface in spring and again in midsummer.

Burpee All Purpose Granular Plant Food
I like to use Burpee’s All Purpose Granular Plant Food, available at Burpee.
Alternatively, a balanced liquid or water-soluble fertilizer can be applied at half-strength on a monthly basis throughout the growing season.
Maintenance
For lush plants with dense foliage, prune hyssop hard in early spring – this will encourage branching and lovely, lush green bushiness.
To prune in spring, wait until new growth emerges and use clean, sharp shears to remove any broken or dead stems first, then cut plants right back to a height of just two to four inches.
To prevent spindly growth and maintain a compact habit, they can also be cut back again after flowering, reducing the overall size by as much as one-third.
Winter Care
Hardy in USDA Zones 4 to 9, hyssop is tough and reliable in climates with cold winters, but container plants tend to be more susceptible to damage than those in ground.
To provide protection, containers can be moved into a sheltered site such as against a fence, shed, or foundation wall. These sites are typically a degree or two warmer than out in the open.
Remove catchment saucers so the roots aren’t in contact with cold or freezing water.
Also, a thick, four-inch layer of winter mulch over the root zone can help to protect from heaving in freeze/thaw cycles.
Use materials with a lofty structure to help trap warm air such as bark mulch, shredded leaves, or straw.
In regions that experience hard freezes, you can also wrap the containers in old blankets, bubble wrap, or evergreen boughs to further insulate the roots.
Don’t forget to wait until spring to cut back plants. Pruning them too close to frosty temperatures can result in damage to the cut stems.
Colorful, Flavorful, and Delightful
Hyssop is a truly versatile herb that’s colorful, flavorful, and absolutely delightful in planters and pots.

Potted herbs provide handy access in kitchen gardens and potagers so you can quickly snip a few sprigs to flavor savory foods and summer drinks.
And the beautiful blue flowers add striking allure when massed as specimens or in mixed plantings for patio planters, courtyard containers, and window boxes.
Whatever your container choice, give hyssop humus-rich, well-draining soil and prune hard in early spring for dense, bushy plants.
Allow the soil to dry out a bit between water applications and feed monthly with diluted fertilizer. Then relax and enjoy hyssop’s aromatic, colorful, and flavorful summer show!
And if you like the idea of potted herbs for the kitchen, patio, or garden, add these guides to your reading list next: